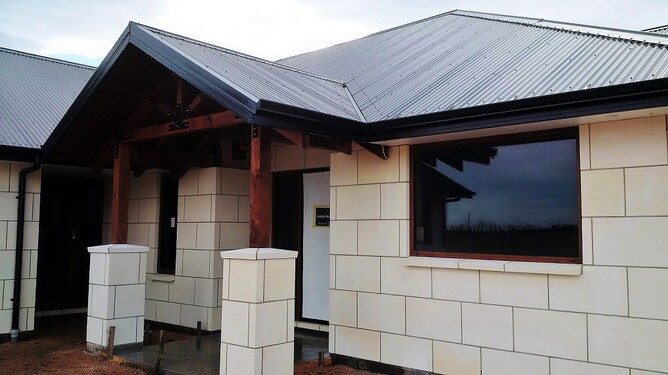
How to care for Oamaru Stone
Whether it be a fence, wall or house, if you built with Oamaru stone you probably did so because of its charm and beautiful appearance. However over time if its not cared for properly it can become dirty and prone to moss and mould growth which if not treated can become extremely costly to repair as the moss tendrils get further into the stone. To add to this, if its not sealed properly water seeps into the stone and in frosty conditions causes spalling (cracking) which damages the mortar and surface of the stone.
So, to spare you the repair bill of restoring Oamaru stone to its original condition see the 7 helpful tips below.
7 Tips for care and maintenance of Oamaru Stone
- Stop using the garden hose to water plants against the wall, this causes water to 'seep' into the stone causing 'freeze/thaw' damage, also the water will often leave mineral deposits which compromises the appearance of the stone. Instead use a drip or trickle watering system that has nozzles positioned to provide water to your plants at ground level only.
- Obviously the above may not be practical when watering the lawn, so when you set up your sprinkler ensure the field of spray does not reach the stone, otherwise the same effect described above will occur.
- If you have shrubs or plants against the house or Oamaru stone wall ensure there is sufficient clearance between the back of the shrub and the stone by trimming back if necessary. This has a two fold benefit. Firstly, when a shrub of plant brushes against the wall in the wind the branches tend to scrape and wear small grooves in your stone over time due to the 'soft' nature of Oamaru stone. Secondly, when the shrubs are wet (after rain or dew) it transmits the moisture to the stone and also provides a shaded area for moss and mould to grow.
- When washing your car, ensure not only that water does not spray over onto the Oamaru stone bricks, but also ensure you are in a position where water is not going to run off toward the Oamaru stone, if it does it wont just affect the lower areas of the stone, the capillary action will ensure this moisture 'wicks' up into the higher courses of the stone.
- Purchase a high grade commercial strength moss & mould killer (preferably utilising Benzalkonium Chloride) and apply by spraying onto the stone surfaces. This will kill the moss & mould and any other growth, by using a commercial grade moss and mould killer you will prevent any further re-growth for some time due to the residual properties. It is important to keep on top of this, because once moss or mould has established itself on your stone its tendrils can be found up to 6mm into the stone veneer making it much harder & more costly to restore. If the right product is used and applied correctly this process only needs to occur every 2-3 years. A worthwhile investment.
- Every spring, brush down the walls with a medium bristled brush ensuring any dirt, dust and accumulated grime is removed.
- Do not wash your house with a high pressure water blaster!
Prevention has always been better than cure!
The most effective care and maintenance program for Oamaru stone is one that ensures the stone is sufficiently sealed in order to prevent water and moisture seeping in, as this leads to moss and mould growth.
Do the splash test
To see if your Oamaru stone is sufficiently sealed conduct the 'Splash test", simply toss a bucket of water onto your wall, if the water beads up or immediately runs off the seal is fine, however if the water soaks in and the stone looks wet or darkens, its time to get it sealed again.
Commercial strength Moss & Mould Kill: Check it out here
Masonry Sealers suitable for Oamaru Stone protection: Check them out here
Too busy to do the job yourself? get in touch with us to get a no obligation quote and see how we can help save you time and expense in the long term. Contact Us Here